
Lines
Lines are what you register on the active assignment: work and other salary types, items used, and comments. Open them from Active Assignment → Lines; the number on that row is the number of lines not yet signed. The list shows lines that are not yet signed. Lines stay on the phone until they are signed; signing is what sends them to Business Central. See Signatures.
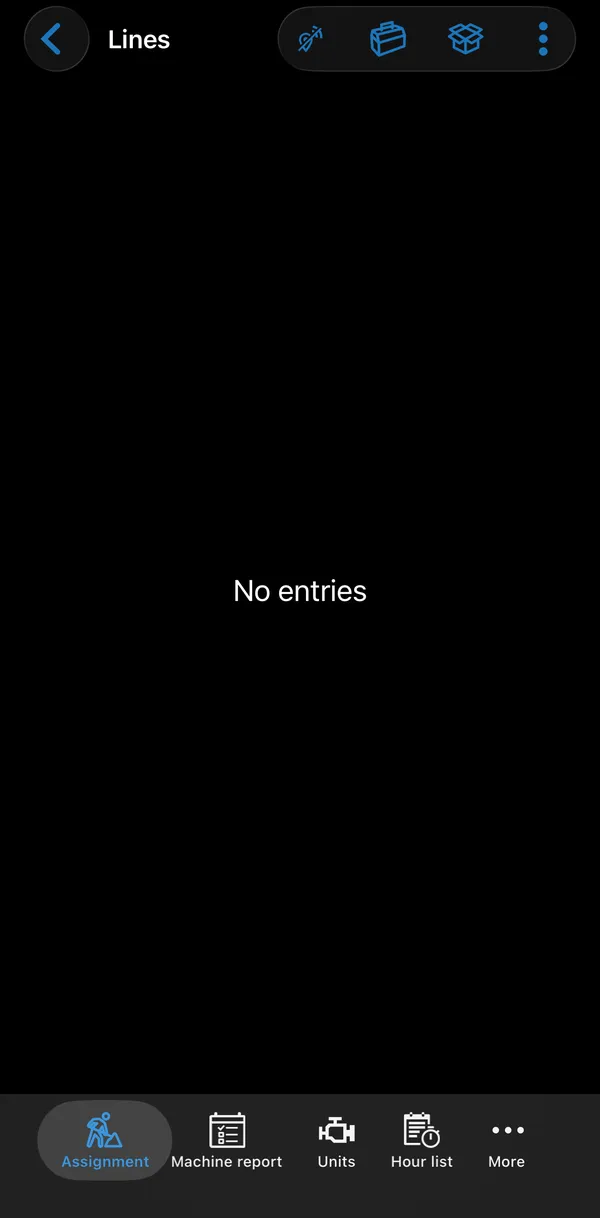
The lines are listed under a heading for each date, newest first, and today’s date is marked (today). Each line has an icon for its type. A work line shows the salary type and, under it, details such as the time and the description (when it differs from the salary type name). Work and item lines show their quantity and, where relevant, the amount, unless prices are hidden for the item. Tap a line to open it. Unlike the hour list and the signing, the Lines list is not grouped.
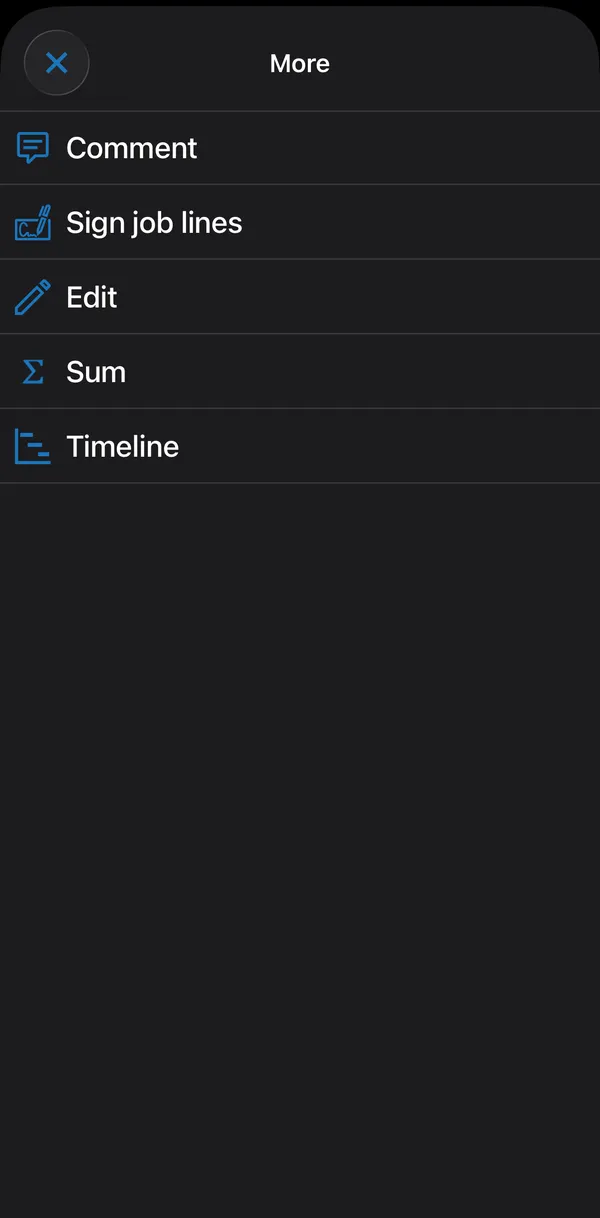
Add lines with the buttons at the top: Salary Type (toolbox) and Item (box). The ⋮ menu adds Comment, and holds Sign job lines, Edit, Sum and Timeline.
Line types
Section titled “Line types”| Type | Used for | Typical fields |
|---|---|---|
| Salary Type | Work hours, overtime, allowances, travel. | Salary type, description, date, from/to time, quantity, price, amount, unit, project. Some salary types also have lunch and breakfast deduction, or start and end location and purpose of trip. |
| Item | Materials and parts used. | Item, description, date, quantity, price, amount, unit, project. On workshop orders also location and purchasing code. Items can be found by scanning the barcode. |
| Comment | Free text on the job. | Text, date, unit, project. |
Comment lines are signed together with hours and items.
Adding and editing a line
Section titled “Adding and editing a line”Tapping Salary Type, Item or Comment, or tapping an existing line in the list, opens the same page for that line type. The buttons at the top work the same on all three:
| Button | What it does |
|---|---|
| ← (back) | Leave without saving. If you changed something, the app asks Confirm that you want to discard your changes? |
| Trash can | Delete the line. Only shown on a saved line; the app asks you to confirm first. |
| Checkmark | Save the line. It stays on the phone until it is signed. |
Fields marked * are required. Some fields are folded away: tap the ⌄ arrow under the fields to show them. In number fields, tap the value to type a number.
Work (Salary Type lines)
Section titled “Work (Salary Type lines)”A salary type line opens on a page titled Work. On a new line, the list of salary types opens straight away; if your company groups salary types, you pick a group first. Choose a salary type to return to the Work page. Each row in the list shows the salary type name with its number on the right.
Each salary type decides which fields are shown and in which order, which are required or read-only, their default values, and which are folded away under the ⌄ arrow.
| Field | What it does |
|---|---|
| Salary Type | Tap to choose from the list of salary types. |
| Description | Free text. Some salary types require a description. Some require a minimum length: the field title then shows how many characters are needed, and the line can’t be saved until the text is long enough (Minimum … characters). |
| Date | Tap the date to pick it; tap the calendar icon to set today’s date. |
| From / To | Start and end time. Tap a time to pick hour and minute; tap the clock icon to set the current time. |
| Quantity | Hours. On salary types that calculate time, it is worked out from From and To, minus any lunch or breakfast deduction; typing a quantity moves the To time instead. |
| Price | The rate for the line. + and − step it up or down by one. |
| Lunch deduction / Breakfast deduction | Switches that subtract the minutes shown in their title, Lunch deduction (… min), from the hours. They only appear on salary types where your company allows a deduction. Lunch deduction is on by default. |
| Start Location / End Location, Purpose of Trip | For travel. See Travel calculation. |
| Unit, Project | Tap to choose from a list. |
A salary type can have a minute interval, for example 15 minutes. Times are then rounded to that interval: From is rounded down and To is rounded up.
A new work line gets the date and times of the last work line you saved, so a series of lines for the same day is quick to enter. This is reset when you go back to Active Assignment.
When a work line ends after midnight (for example 23:00–02:00), what happens depends on your company’s setting for the assignment. The line can be split automatically into one line until midnight and one from 00:00 the next day; the app can ask whether to split it (Yes, No or Cancel); or the line can be saved as it is.
When you save a new work line, the app asks you to confirm if a similar line already exists on that date, or if the salary type’s maximum number of lines per day has been reached.
Travel calculation
Section titled “Travel calculation”Some salary types have Start Location and End Location fields; tap one to type an address. With the TravelCalculation permission, on salary types set up for travel calculation, the app suggests addresses you can pick, and when both are filled in, the quantity is calculated automatically: either the distance in km or the travel time in hours, depending on the salary type. If it can’t be calculated, the app says that the addresses may not be found.
Date limits
Section titled “Date limits”Your company can limit which dates you can register lines on:
- Within the assignment’s dates. If your company checks dates against the assignment, a line must be dated within the assignment’s start and end date. This applies to work, item and comment lines, but not on internal assignments.
- A number of days back or ahead. Some salary types can only be registered a set number of days back or ahead. This is counted from today; when the assignment’s dates are also checked, it is counted from the assignment’s start and end dates instead (except on internal assignments).
Only the date is checked, not the time. If the date is outside the allowed period, a warning triangle appears by the date. Tap it to see the allowed period, for example Date must be between 01.10.2026 and 06.10.2026. A saved work line dated outside the period its salary type allows opens read-only, with Read only due to date restriction under the Work title.
An item line opens on a page titled Item. On a new line, the Items list opens straight away. The list has a search field and, if you have the scanning permission and the phone has a camera, a Scan barcode button at the top. Each row shows the item and, on the right, the quantity in stock. The stock figure is only up to date when you have a connection. Tap an item to choose it.
| Field | What it does |
|---|---|
| Item | Tap to choose from the Items list. Choosing an item fills in its description and price. |
| Description | Filled in with the item name; you can change it. |
| Location, Purchasing Code | Shown when they have a value. See below. |
| Date | Same date field as on the Work page. Item lines have no from/to time. |
| Quantity | How many you used. |
| Price | The unit price. |
| Amount | Quantity × price. |
| Unit, Project | Under the ⌄ arrow. |
Quantity, Price and Amount have + and − buttons that step the value up or down by one. Price and Amount are hidden for items whose prices are not shown in the app.
On workshop orders, the app looks up the item’s stock when you choose it, which needs a connection. If the item is stocked at several locations, you choose the location. If it is out of stock, you may be asked for a purchasing code. Location and Purchasing Code are then shown on the line.
Scanning a barcode
Section titled “Scanning a barcode”If the item has a barcode, tap Scan barcode in the Items list. The Scan barcode screen shows the camera. The Barcode field under it shows the scanned code, and you can also type the code there. The Item field shows the matching item, or (Not found). When the barcode matches an item, the app returns to the Item page after a moment with the item filled in. The flashlight button turns the light on and off.
Comment
Section titled “Comment”A comment line opens on a page titled Comment, with Text and Date. Unit and Project are under the ⌄ arrow.
Favourites
Section titled “Favourites”In the lists of salary types, units and projects you pick from on a line, you can mark favourites. They are shown at the top of the list under Favorites.
- Open the list and tap ⋮ → Edit.
- Tap the star next to an entry to make it a favourite, or the X next to a favourite to remove it.
- Tap the checkmark when you are done.
Favourites are cleared when the profile is downloaded again.
Editing several lines
Section titled “Editing several lines”⋮ → Edit lets you select lines and Copy lines or Delete them. Both need their own permissions. Tap lines to select them, or tap a date heading to select all lines on that date. Tap X to leave edit mode without changes.
Copied lines get today’s date. If your company checks dates against the assignment and today is outside the assignment’s period, they get the nearest date within it instead. Delete asks Confirm that you want to delete selected job lines? first.
Sum and Timeline
Section titled “Sum and Timeline”Sum and Timeline are also available from the included lines on a signing and from the Hour list.
Sum opens Summation, with the total quantity per salary type. Only salary type lines are counted; items and comments are not included. Use ⋮ to switch between Group by salary type and Group by payroll salary type; the app remembers your choice.
Timeline
Section titled “Timeline”Timeline shows the work lines on a time axis, one row per line, under a heading for each date. Only salary type lines are shown, not items or comments, and some salary types may be hidden from it. If you use Absence, absence in the same period is shown too. Timeline needs the Timeline permission.
- The time a line covers is filled in light blue, one cell per step. Dark blue cells mean two lines overlap in time, for example rigging that ended at 09:45 while the job started at 09:30.
- The step can be 60, 30, 15 or 10 minutes; choose it under ⋮. The current step is shown under the title, and the app remembers it. With a coarse step, lines that follow each other can share a cell and look as if they overlap; choose a finer step to check.
- Tap a description to see its full text, or a coloured cell to see the line’s from–to time. It is shown briefly at the bottom of the screen.
- Press and hold a line to open its details.
Tip: turn the phone sideways to see more of the timeline.
Signing lines
Section titled “Signing lines”⋮ → Sign job lines opens a signing with all unsigned lines. Signed lines disappear from the list. See Signatures.